4 Methods Of Scanning Documents
To scan a document into your computer, smartphone, or tablet, follow the steps below. You’ll need a scanner (or a printer with a built-in scanner) connected to your computer to do this on a PC. On an iPhone, you can scan documents using the built-in Notes app, while Android users can use Google Drive’s scan feature.
METHOD 1: Using Windows
- Place a document in your scanner face down. Ensure your scanner is turned on and connected to your computer.
- Press the Start button. Click the Windows logo at the bottom-left corner of the screen.
- In Start, type "Fax and Scan" to access the built-in scanning tool.
- Select "Windows Fax and Scan" from the search results.
- Click "New Scan" in the upper-left corner of the Fax and Scan window.
- Ensure your scanner is selected. If not, click "Change…" and pick the correct scanner.
- Choose a document type from the "Profile" drop-down box.
- Select a color scheme: "Color" or "Black & White" from the "Color format" drop-down.
- Choose a file type (e.g., PDF, JPG) from the "File type" drop-down menu.
- Adjust any additional settings like resolution if needed.
- Click "Preview" to check the scanned document before finalizing.
- If everything looks good, click "Scan" to begin the process.
- Locate the scanned document:
- Open File Explorer.
- Navigate to "Documents."
- Open the "Scanned Documents" folder.

METHOD 2: Using the Mac
- Place a document in your scanner face down. Before you go any further, make sure your scanner is turned on and connected to your computer.
- Select Apple from the navigation bar. In the top-left corner side of the screen, click the Apple logo.
- Select System Preferences from the drop-down menu.
- Select Printers & Scanners from the drop-down menu.
- Choose a scanner. In the left-hand column, click the name of your scanner (or printer).
- Select the Scan option.
- Click "Open Scanner" to access scanning features.
- Select Show Details from the menu.
- Choose a file format.
- Decide on a color scheme.
- Decide where you want to store your files.
- Alter the page’s other options.
- Select Scan from the menu.
METHOD 3: Using the iPhone
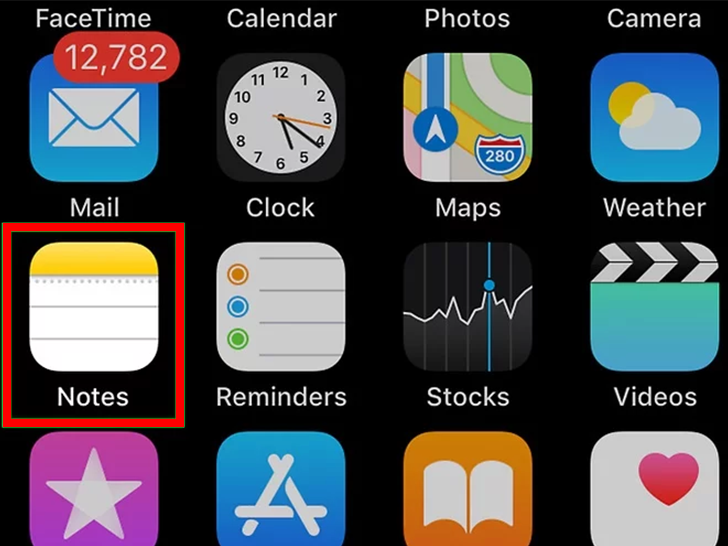
- Open Notes. Tap the icon for the Notes app.
- Select “New Note” from the drop-down menu.
- Press the button (plus icon) at the bottom of the screen.
- Select Scan Documents from the drop-down menu.
- Take a picture of a document with your phone’s camera.
- Press and hold the “Capture” button.
- Select Keep Scan from the drop-down menu.
- Press the Save button.
- Press the Share button.
- Scroll to the right and select Create PDF.
- Press the Done button.
- Make a backup of your scanned document.
METHOD 4: Using an Android
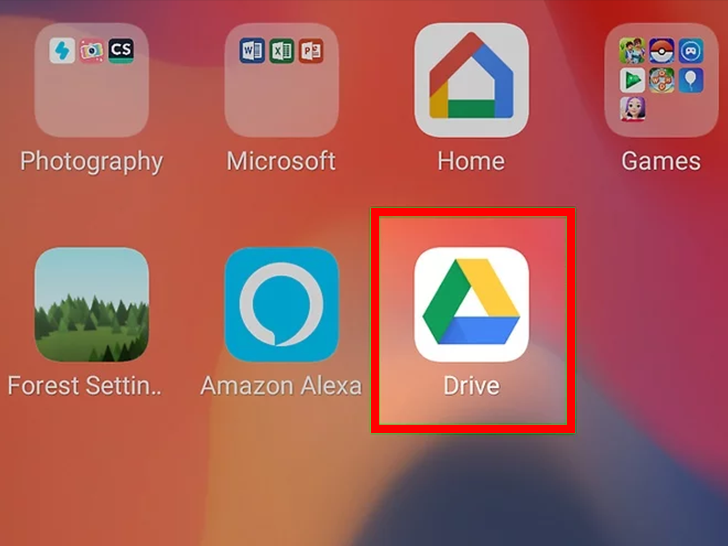
- Go to Google Drive and sign in.
- Choose a folder. Select a folder where you want to save your scan.
- Press the + button. It’s at the screen’s bottom right corner.
- Select Scan. The pop-up menu contains this camera-shaped icon.
- Take a picture of a document with your phone’s camera.
- Press and hold the “Capture” button.
- Press the save button in the bottom right corner.
- Crop your scan if necessary.
- Tap + to add extra pages to the PDF.
- Save your scanned document to your phone for future access.